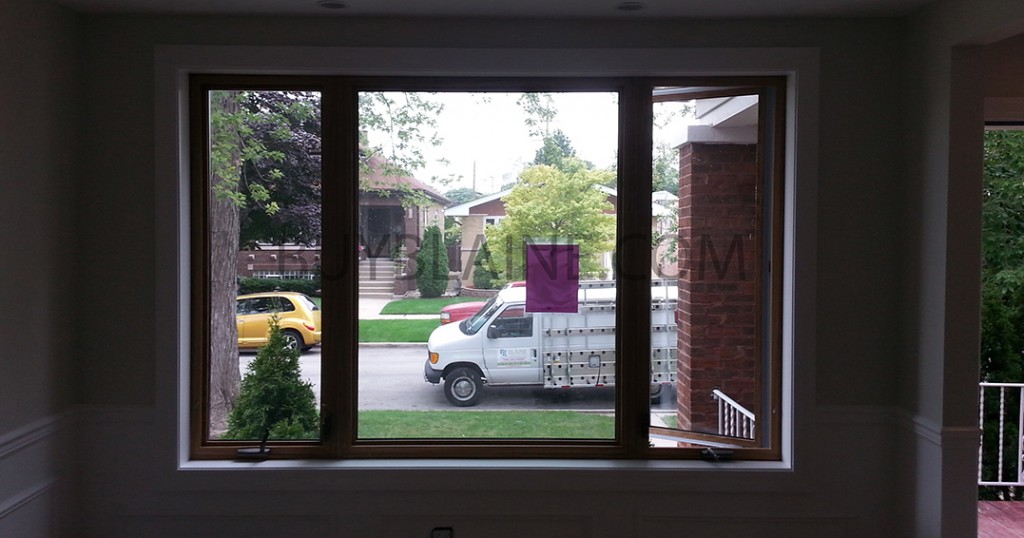
The window jamb is located inside of the window framing, and runs along the top frame, and side frames of the window. The piece that runs along the bottom of the frame is called the windowsill. Although similar to jambs the windowsill provides a slightly different function. That being said this article does not include repair or replacement of the window sill. In addition, the window jamb houses the rails or tracks that are used to open the window, and the sweep latches that lock them. If you are a handy person then window jamb repair or replacement is a fairly easy task. They often need to be replaced when installing a new window due to the fact that jambs tend to leak, rot, and warp over time. It certainly does not make sense to spend the time, effort, and money on a new window only to have it fit poorly because the jambs needed replacement. Without further ado, here are some easy to follow, step-by-step instructions on how to replace a window jamb.
Step One: Remove The Old, Existing Window
Use a good quality utility knife, and score around the old window casing and interior wall. Next, separate the casing from the reveal board using a hammer and chisel.
There is a good chance that you will need to remove a bit of exterior siding in order to expose the nailing fins that attach the old window to the house. Take your time and work your way up by prying up on the bottom of each siding piece until you get to the nails that are holding the old window in place. Do your best to avoid damaging the siding, you will be installing after the new window is in place.
Place masking tape on the old window glass in order to prevent breaking it during removal. Remove the old caulking around the window, and then pry the nails out. Remove the window.
Step Two: Remove the Interior Trim Casing
Remove the window trim casing very carefully. You will be using it again once the new window is installed. Use either a flathead screwdriver or small pry bar to work in between the trim casing and the drywall. Start in one spot and slowly loosen the casing pieces until they are all free.
Step Three: Pull Existing Window Jamb Free
Pull the existing window jamb free with either a flat head screwdriver or small pry bar. The jamb will either be attached with nails or wood screws depending on how old the house is. Remove the nails with a pry bar, or use a power drill or power screwdriver to remove the wood screws.
Step Four: Measure the Window Opening For The New Jamb
Measure the window opening including both the height and width of the window. Measure the height from the top of the frame/header to the sill. Measure the width from the left stud to the right stud of the window opening. You can either purchase a pre-fabricated window jamb or have one custom made for a better fit.
Step Five: Install The New Window Jamb
Temporarily screw the new window jamb into place. Slide wood shims into place in the space between the window jamb and the wall.
Step Six: Plumb And Level The Window Jamb
Use a level device to make sure that the window jamb is level. Adjusts the shims accordingly. Then use a carpenter square in order to ensure that the newly installed window jamb is plumb, or sitting squarely.
Step Seven: Drill the remaining screws into the jamb pieces, and frame in order to permanently install the doorjamb
You are now ready to install your new window. At this point you can actually re-install the old window if your goal is only to replace the window jamb.
We hope that you have found this how to replace a window jamb instructional guide useful and if you need window hardware parts please feel free fill out the free part identification form below.
Posted on: 3/30/2016 by Blaine Hardware

